Creating a Custom Scene
Blender is used to create scenes.
Warning!
It is assumed that you have basic modeling skills in Blender. For simple scenes, it's enough to know how to create primitive meshes and apply materials for coloring.
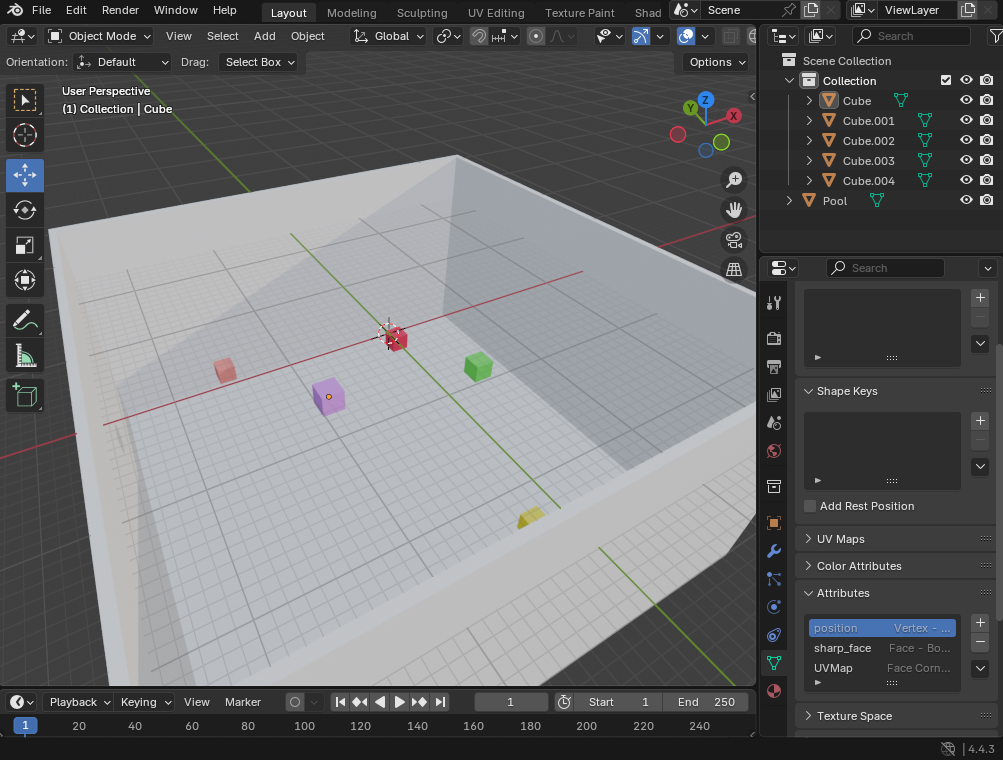
Let’s say we’ve created a simple scene with a pool and some objects inside:
Preparing Objects
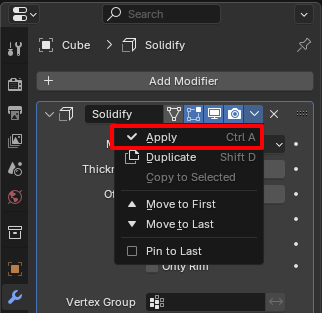
All models must be converted to finalized meshes. For example, if an object has modifiers, apply them:
Adding Collisions
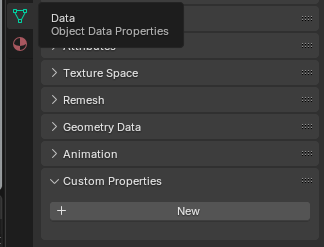
To add a collision to a mesh, assign a custom property. Select the object, go to Data -> Custom Properties, and click New:
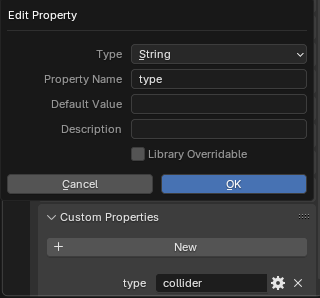
A new property will appear. Click the gear icon, set the type to String, name it type, and set the value to collider:
Adding AUVs
Create a primitive mesh, such as a cube, and set its scale to zero. In Data -> Custom Properties, create the following fields:
| Name | Type | Value |
|---|---|---|
| type | String | Constant: auv |
| id | Integer | AUV ID, from 0 to 255 |
| cameras_enabled | Boolean | Enable cameras? |
| coordinates | Float Array (Translation subtype) | Spawn coordinates |
Example:
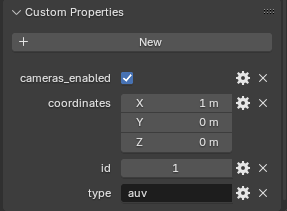
Each AUV must have its own object.
Export
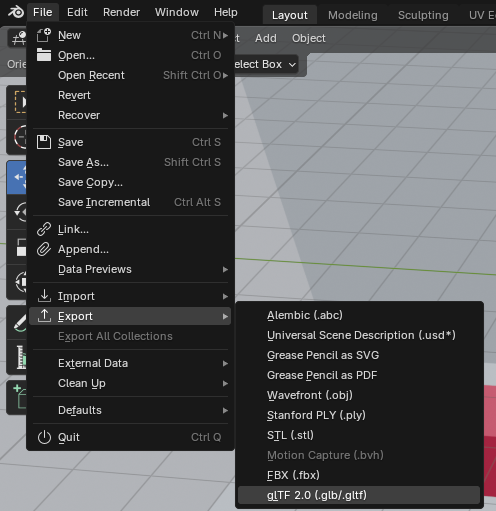
The simulator uses the glTF format, so export your scene as: File -> Export -> glTF 2.0 (.glb/.gltf):
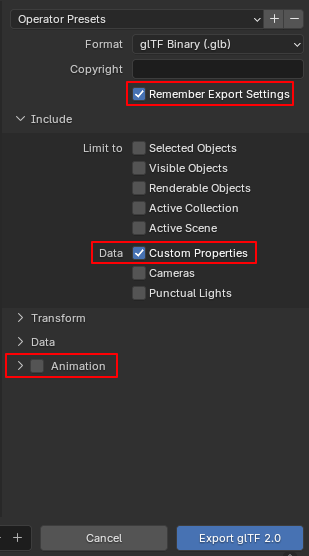
In the export settings, disable animations, enable Custom Properties, and optionally check Remember Export Settings:
Loading the Scene
Open the simulator, click Load Scene, and select the .glb file. The scene will be loaded:
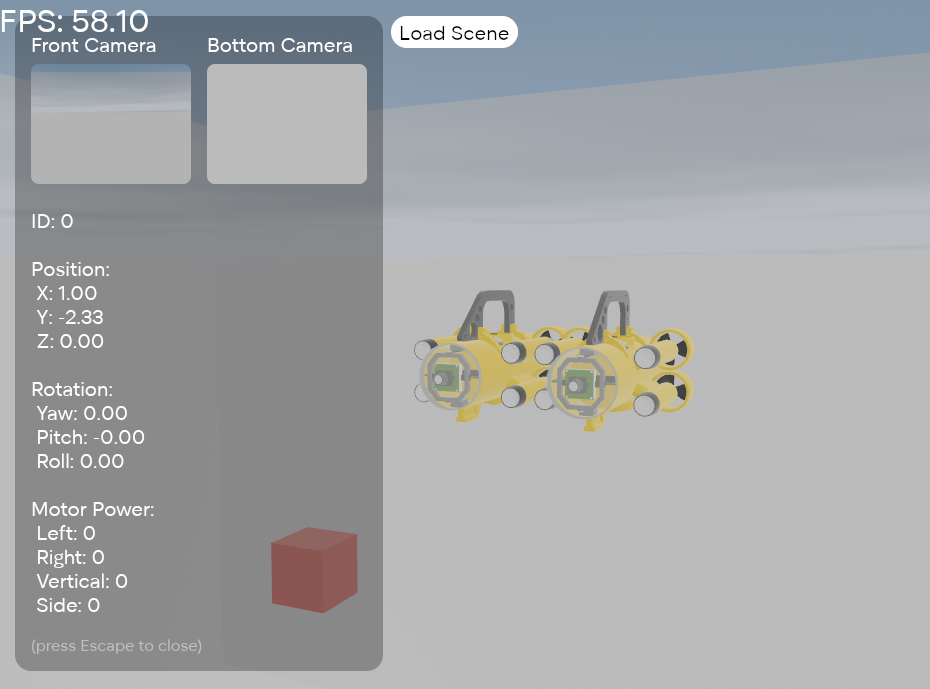
The example scene is available in the repository: assets/simple.blend.